机器臂网站搭建记录⤴
在机械臂的开发过程中,经常出现代码、文档、图片等文件难以找到的情况。同时前辈的一些文档也已经失传,在通过搜索引擎意外找到一个基地学长的机械臂开发记录博客后,决定搭建一个网站来记录机械臂的文档,方便后续组员的开发和学习。
初始化⤴
开发一个网站有许多技术可以选择。为了能够简单快速的搭建一个网站,选择了 MkDocs 作为网站的框架。使用 Github Pages 作为网站的托管平台。
MkDocs 是一个静态网站生成器,使用 Markdown 作为文档的编写语言。可以快速的搭建一个网站。
但是其界面和功能都比较简单。为了能够更好的展示文档,使用了 Material for MkDocs 作为网站的主题。
填充网站内容⤴
根据需求,网站初步设立了几个模块:
- 文档:最新的机械臂代码的文档和一些常用的基础知识的文档。
- 教程:一些与机械臂开发有关的使用教程。
- 历史文档:用于存放一些历史文档和一些过时的文档。
美化网站⤴
虽然 MkDocs 和 Material for MkDocs 的界面看着都还行,但是感觉还是不够养眼 🫣。
所以基于之前使用的经验,着手自己编写 CSS 来美化网站。经过近半年的打磨,主题已经基本完成。于是决定将其开源。
完善与维护⤴
为了降低维护成本,参考的 Ronald Luo 的一系列文章,使用了 Github Actions 来自动化部署网站。
- 通过实现在 Github Action 中将文件推送到另一个仓库中,实现 private 文档仓库构建的页面自动部署到 public 仓库中
- 实现使用 Github Action 自动同步 fork 的上游仓库
- 尝试使用 Github Action 自动更新 submodule
准备工作⤴
由于文章中设计基地的核心代码,所以需要将其放在一个私有的仓库中。而 Github Pages 只能托管在一个公共的仓库中。所以需要将私有的仓库中的文件同步到公共的仓库中。
并且网站的主题存放在一个子模块中。需要将子模块中的文件同步到公共的仓库中。
所以根据文章中的方法,创建了一个公共的仓库和一个私有的仓库。
NPU-Home/arm:公共的仓库,用于存放网站的文件。NPU-Home/arm-docs:私有的仓库,用于存放网站的文件。
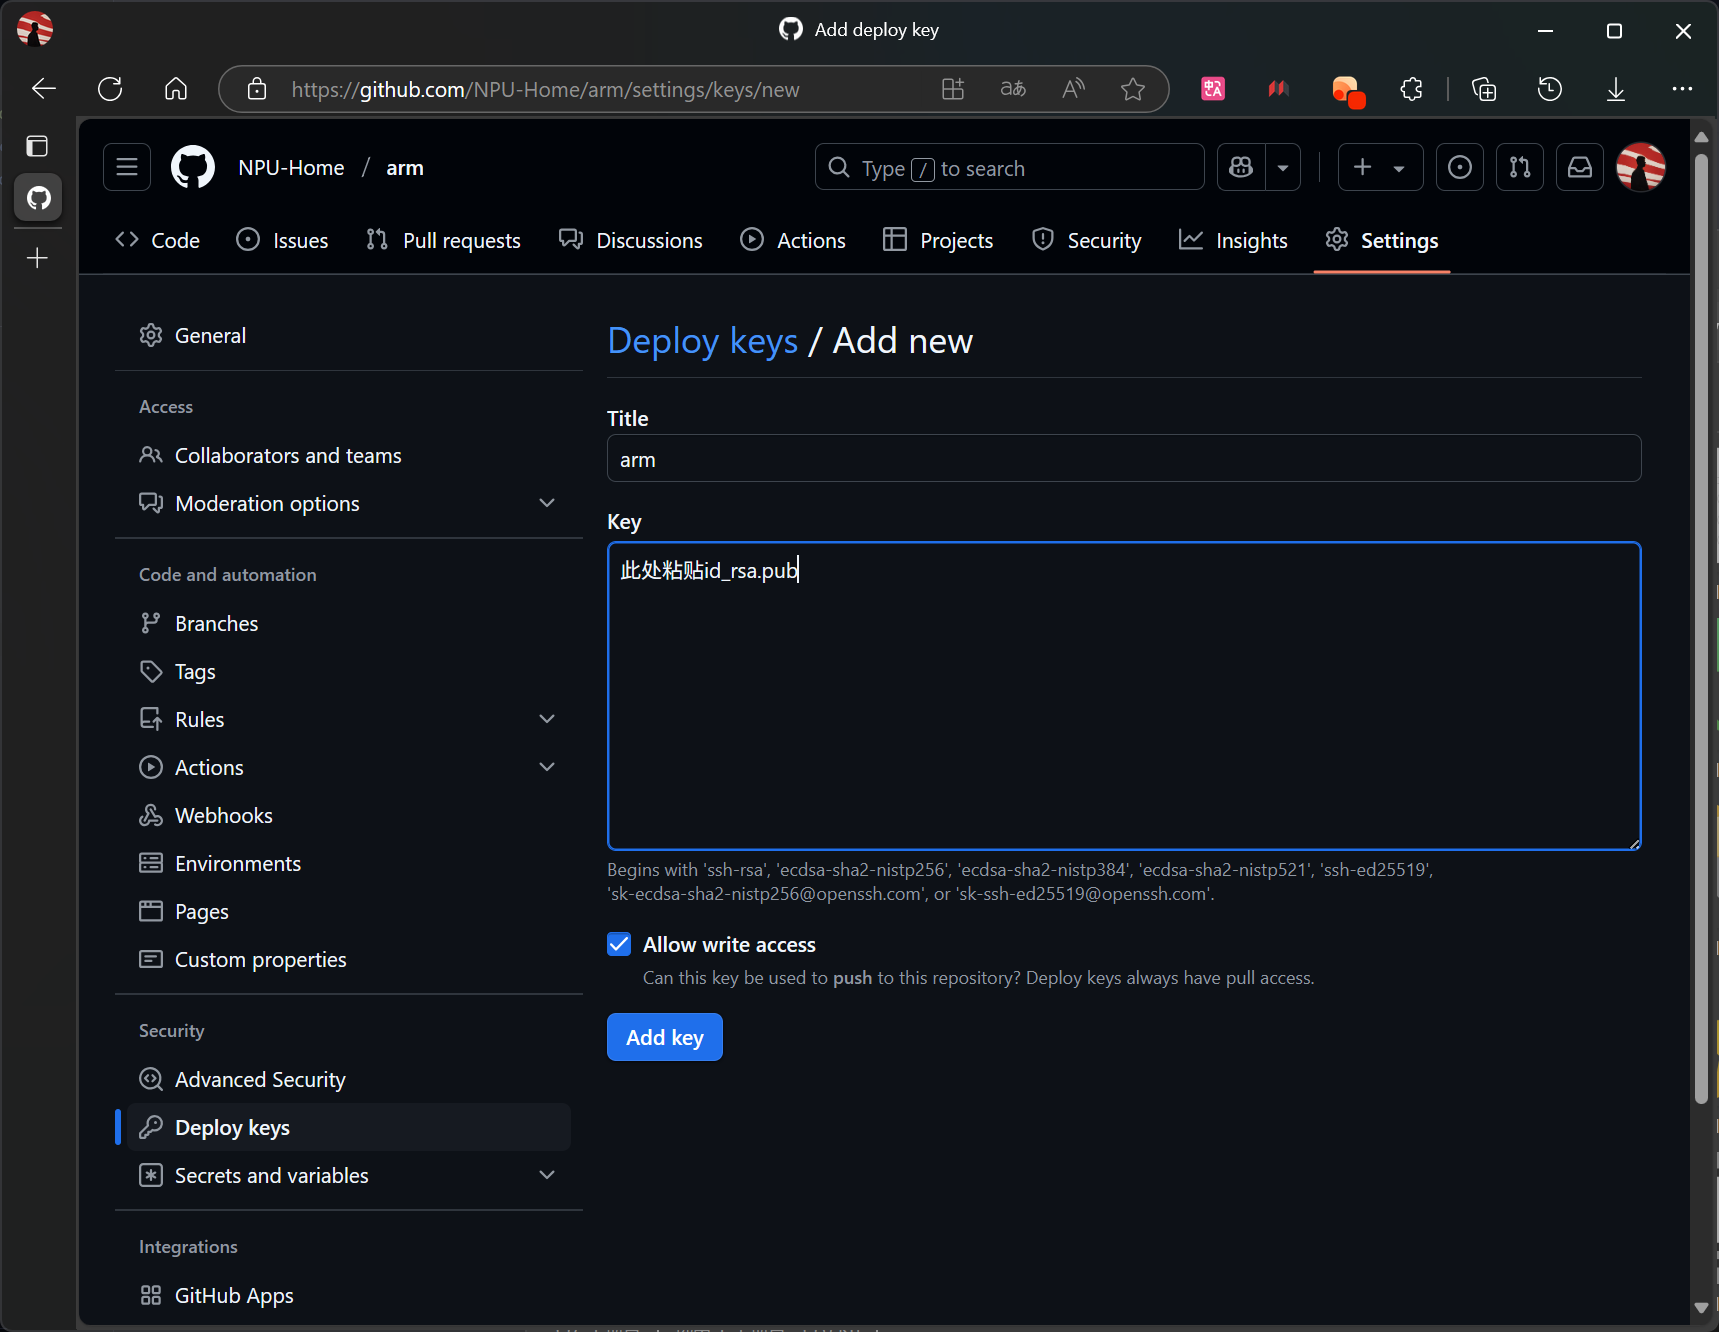
为了实现一个仓库对另一个仓库的写入权限,需要准备一对 SSH 密钥。
将生成的公钥添加到私有仓库中。
注意
添加公钥的时候需要选择 Allow write access。否则无法将私有仓库中的文件同步到公共的仓库中。
然后将私有仓库的 SSH 地址添加到公共仓库中。
注意
Name要设置为 SSH_DEPLOY_KEY,否则无法连接仓库。

由于是远程构建,所以需要准备一个requirements.txt 文件,用于安装依赖。
mkdocs-material>=9.6.9
mkdocs-git-revision-date-localized-plugin>=1.4.5
mkdocs-git-committers-plugin-2>=2.5.0
mkdocs-encryptcontent-plugin>=3.0.4
mkdocs-awesome-nav>=3.1.0
mkdocs-heti-plugin>=0.1.6
mkdocs-video>=1.5.0
mkdocs-glightbox>=0.4.0
配置 Github Actions⤴
在公共仓库中创建一个 .github/workflows 文件夹。然后在其中创建下面文件。
-
自动构建网站的文件
gh-deploy.ymlname: Deploy MkDocs Site To Public Repo on: push: branches: ["main"] # 仅在 main 分支推送时触发 workflow_run: workflows: ["Submodules Sync"] # 必须与目标 Workflow 的 name 完全一致 branches: [main] types: - completed # 监听目标 Workflow 完成 permissions: contents: read jobs: build-and-deploy: runs-on: ubuntu-latest # 使用 GitHub 提供的 Ubuntu 环境 steps: - name: Checkout Main uses: actions/checkout@v4 with: fetch-depth: 0 submodules: true # 检出子模块 - name: Setup Python uses: actions/setup-python@v5 with: python-version: "3.12" - name: Install Dependencies run: pip install -r requirements.txt - name: Build Site run: python3 -m mkdocs build env: MKDOCS_GIT_COMMITTERS_APIKEY: ${{ secrets.GITHUB_TOKEN }} - name: Pushes to another repository uses: cpina/github-action-push-to-another-repository@main env: SSH_DEPLOY_KEY: ${{ secrets.SSH_DEPLOY_KEY }} with: source-directory: "site" destination-github-username: "NPU-Home" destination-repository-name: "arm" # (1) target-branch: gh-pages # (2)- 目标仓库的名称
- 目标分支的名称,第一次需要手动创建。
-
子模块同步
submodule-sync.ymlname: "Submodules Sync" on: # Allows you to run this workflow manually from the Actions tab or through HTTP API workflow_dispatch: permissions: contents: write jobs: sync: name: "Submodules Sync" runs-on: ubuntu-latest # Use the Bash shell regardless whether the GitHub Actions runner is ubuntu-latest, macos-latest, or windows-latest defaults: run: shell: bash steps: # Checkout the repository to the GitHub Actions runner - name: Checkout uses: actions/checkout@v2 with: token: ${{ secrets.GITHUB_TOKEN }} submodules: true # Update references - name: Git Submodule Update run: | git pull --recurse-submodules git submodule update --remote --recursive - name: Commit update run: | git config --global user.name 'Git bot' git config --global user.email 'bot@noreply.github.com' git remote set-url origin https://x-access-token:${{ secrets.GITHUB_TOKEN }}@github.com/${{ github.repository }} git commit -am "Auto updated submodule references" && git push || echo "No changes to commit"
尝试提交代码到公共仓库中,网站即可自动构建,部署。
配置 giscus⤴
为了能够更好交流,使用了 Giscus 作为评论系统。
打开网站,按照官方提示进行配置即可。
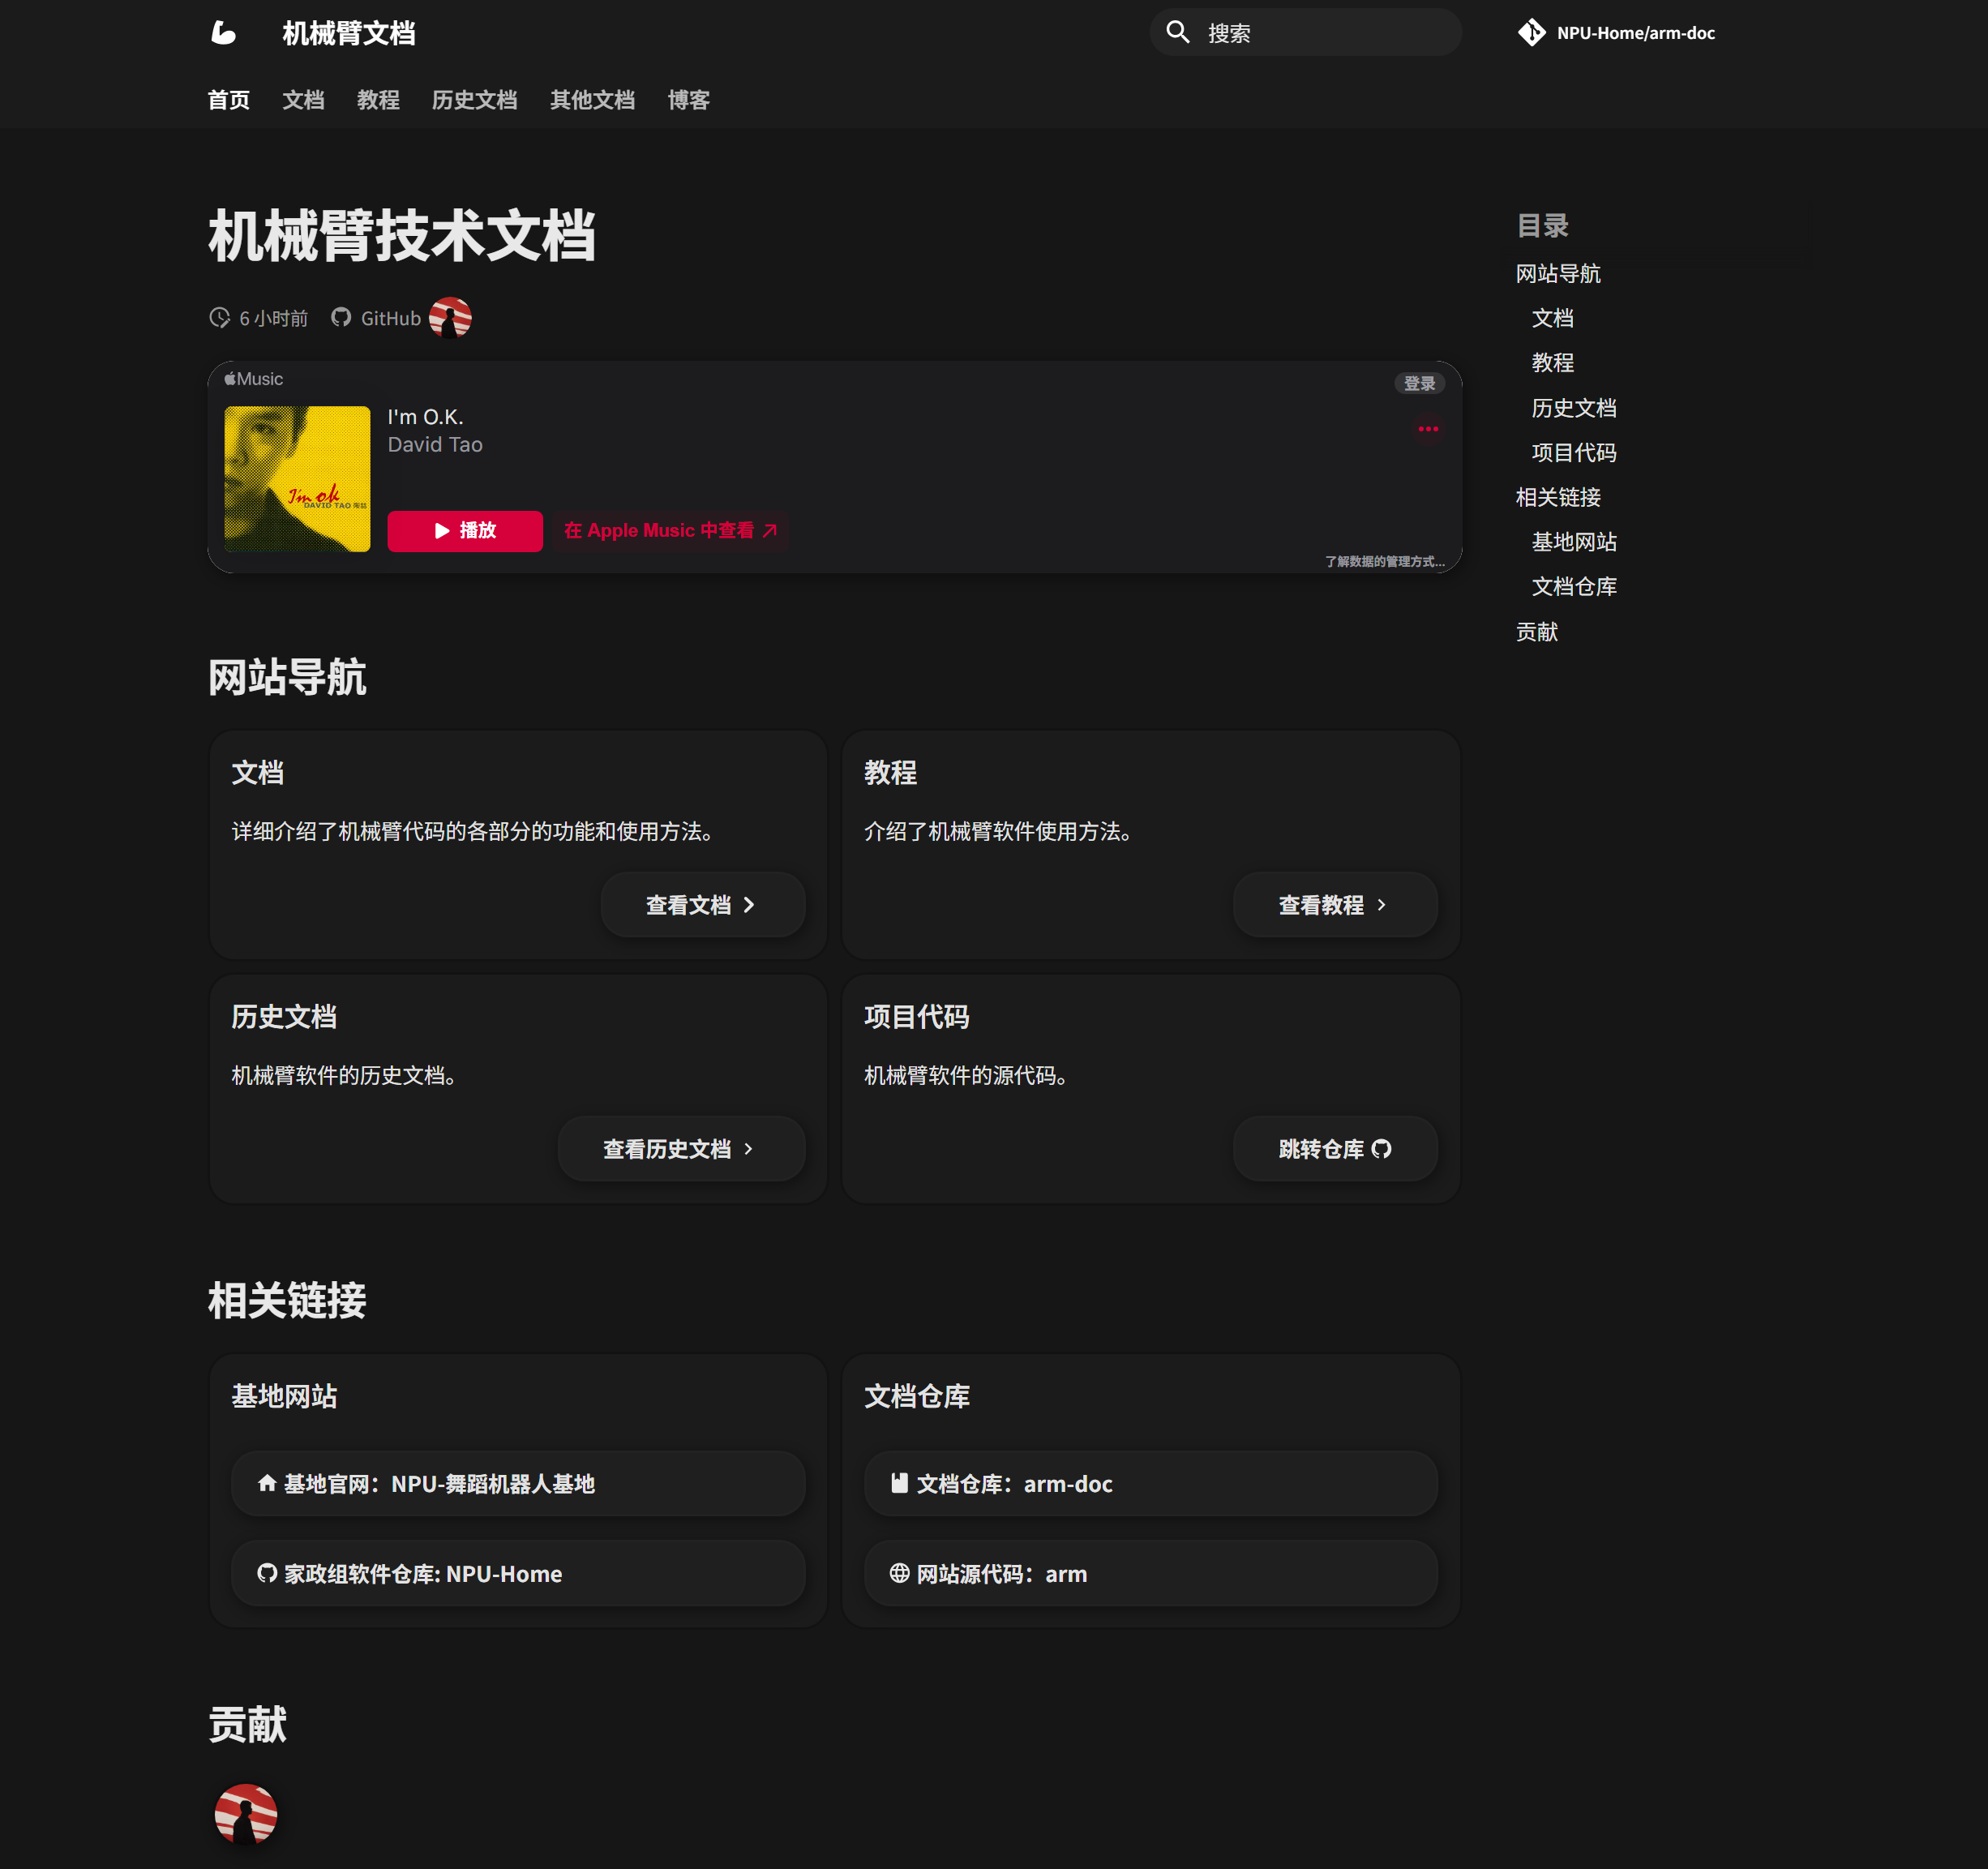
尾声⤴
为了网站不乏单调(更好的展示标题栏的高斯模糊
选择这首歌即代表了在基地一年的痛苦心理,也代表了我的态度 I'm O.K.